Responses by respondent settings
You can select the columns to be displayed on the Responses by respondent page, which are also used by the dashboard's 'Recent respondents' block.
Things to remember:
- Make sure to use clear reporting field headings - these appear as the column headings in the table.
- The first 4 columns in the table will appear on the activity's dashboard.
Note: These settings apply to all users who view the page.
Set up the Responses by respondents table
To set the columns shown in the 'Responses by respondent' table:
-
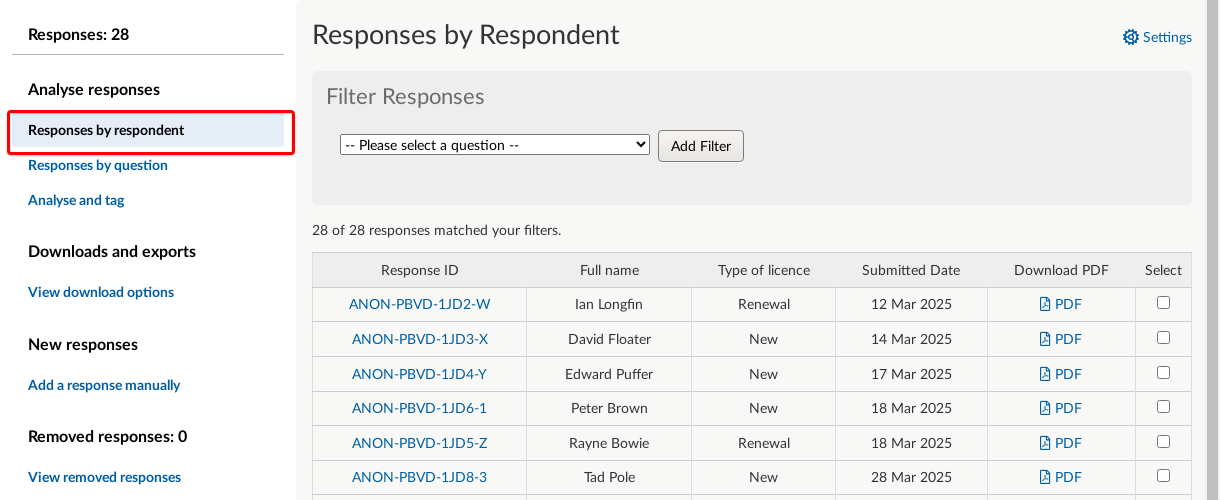
Go to the activity's dashboard, and from the activity's navigation menu select Responses > View responses. This will open to the desired page. You can always get back to this page from a different page in this section by select 'Responses by respondent' from the sidebar menu.
-
Then select 'Settings'.

-
Select the questions you'd like to appear in the table.
Note: We don't recommend choosing more than 7 or 8 columns as this can cause the table to break the width of page, or even worse, fail to display the table completely. Stick with the key columns you need as you can always download the full dataset to view all of the columns.
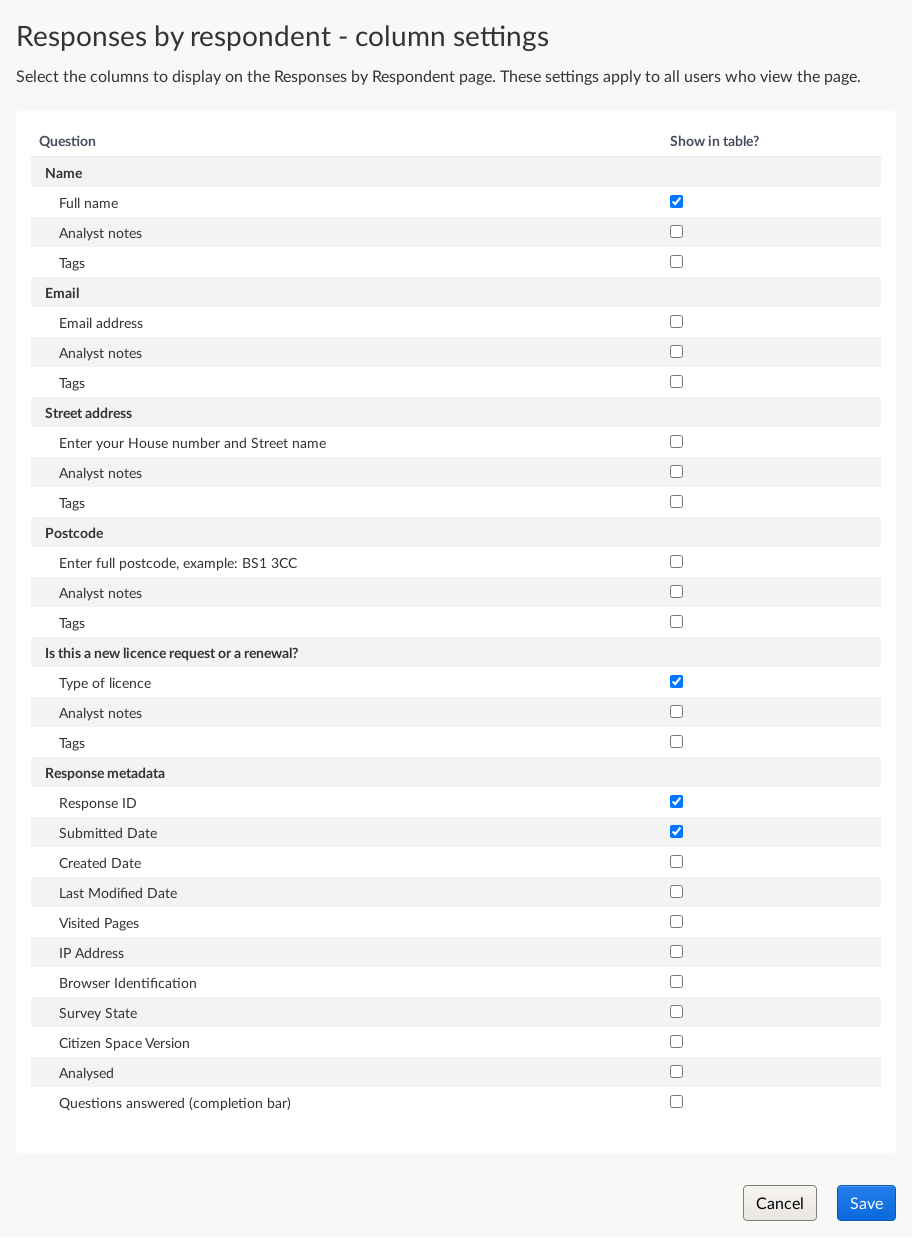
- Select 'Save'.
You'll now be able to see your configured Responses by respondent table.
