.png)
Consultation activity type - the timeline feature
The Timeline feature within the Consultation activity type allows you to define project phases, track milestone deadlines, and establish a clear roadmap for respondents. It ensures project accountability and keeps all stakeholders informed throughout the entire consultation process.
This article explains how to create and edit a timeline for your Consultation activity.

How to add a Timeline to a Consultation
-
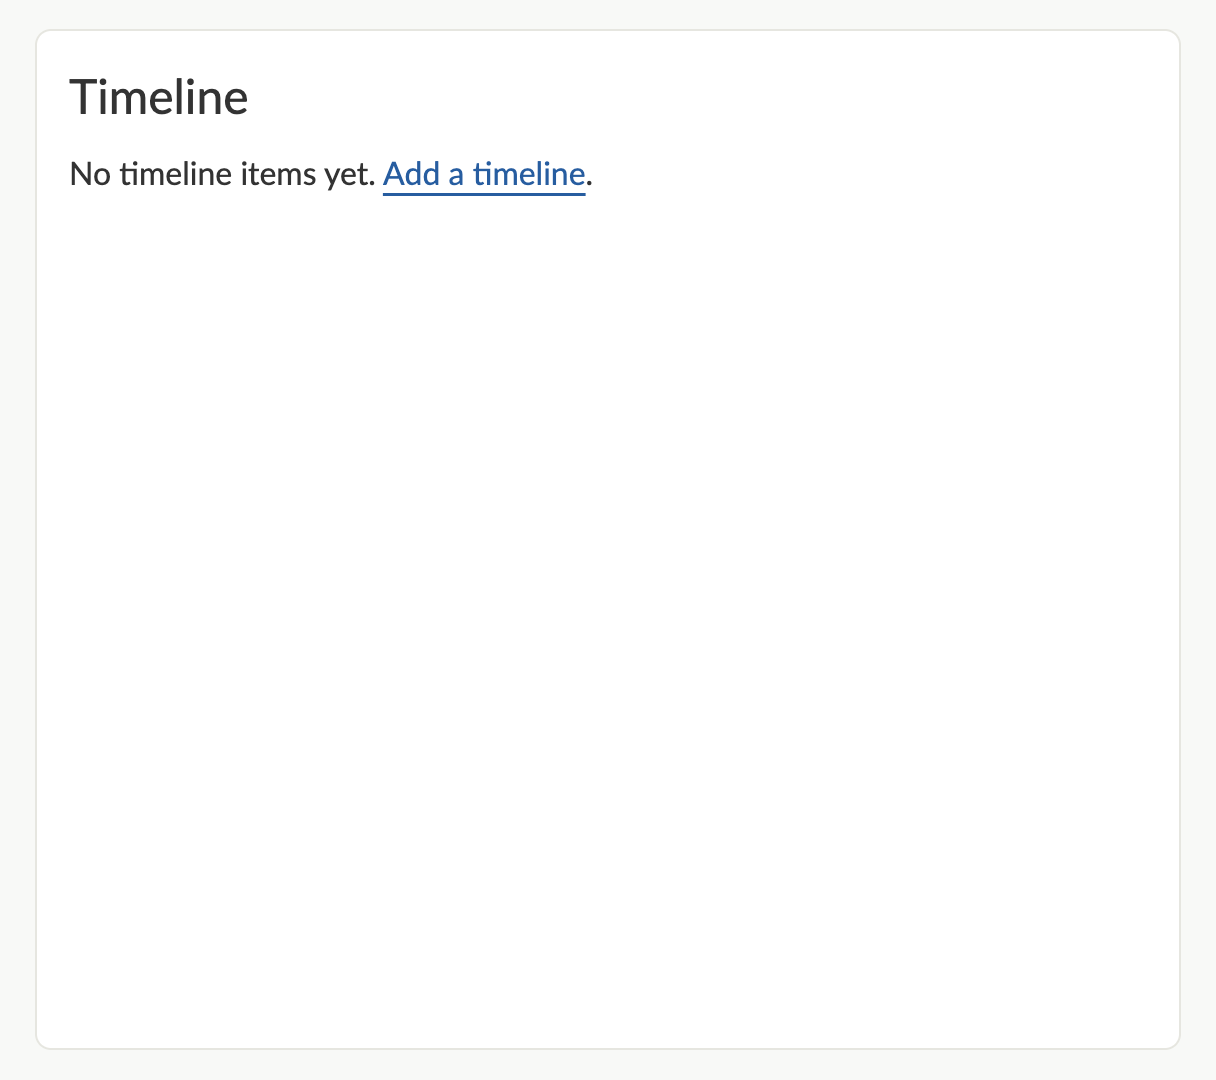
From the dashboard, scroll to the ‘Timeline’ section and select Add a timeline.
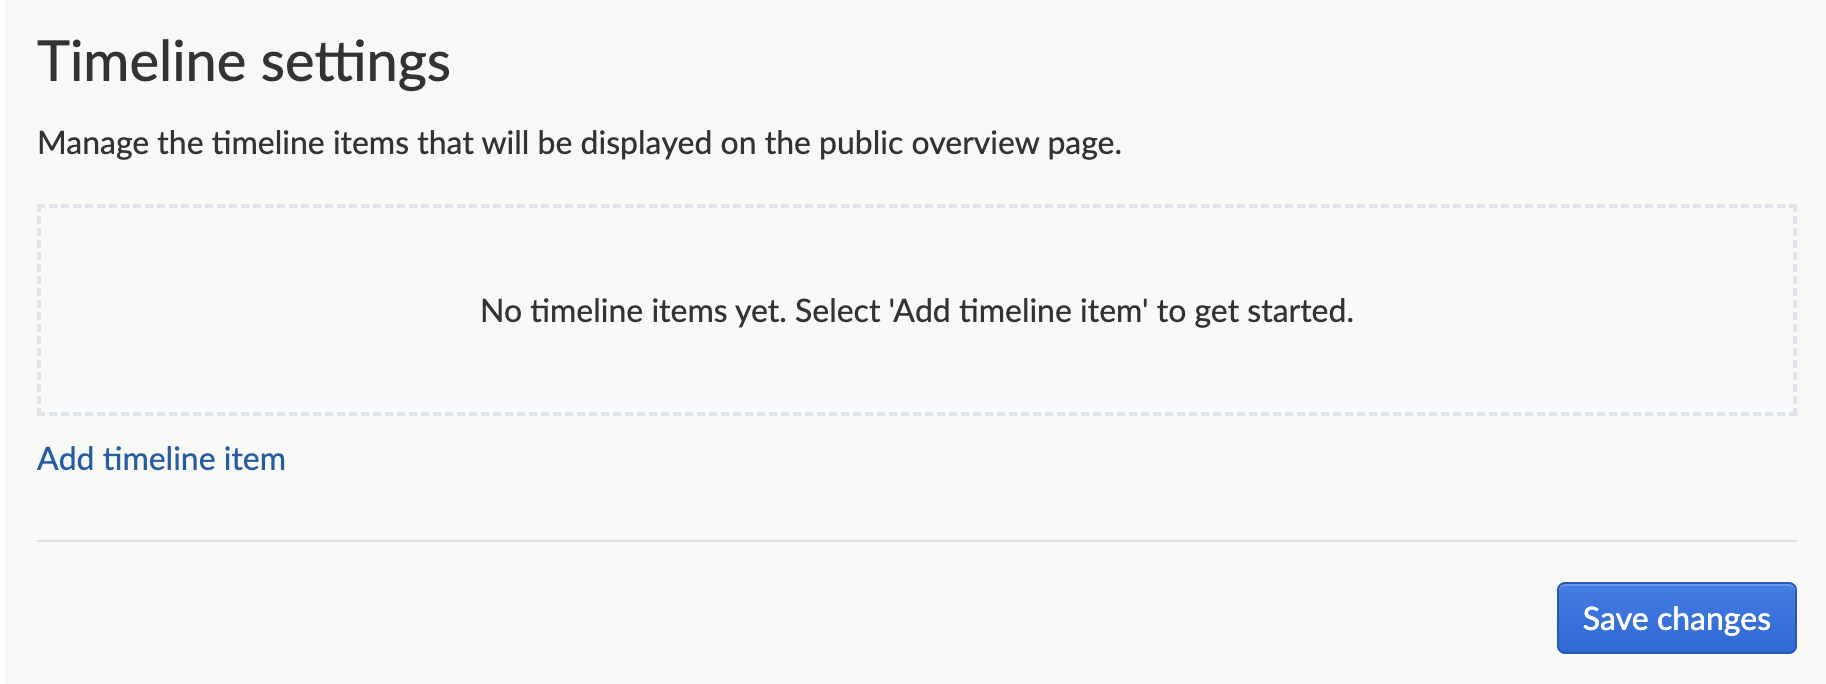
On the next page, the 'Timeline Settings' page, select Add timeline item to add your first item.
- To add an item:
- You’ll be required to give the item a title
- A description is optional
- A date is also optional
- You will need to provide a status for the item as this is a required field (Status options: Upcoming; In progress; In review; and Complete).
- Add your remaining items.
- To add an item:
Once you’ve added all your timeline items, select Save changes.
There is no limit to the number of items you can add to your timeline, however, we recommend keeping it concise, and avoiding a large number of items, to maintain a great experience for your site visitors.

Editing and managing your timeline
Once you've added a timeline, at any time during the consultation process, you can edit it. You can do this from your activity dashboard by going to the Timeline block and selecting Edit timeline in the 'Timeline' section.

All aspects of the timeline can be edited, including item:
- titles
- descriptions
- dates
- statuses - you should update the status of your items as the consultation progresses to keep respondents informed.
You're able to reorder your timeline items using the up and down arrows, or by dragging and dropping them into place, and you can additionally delete items.