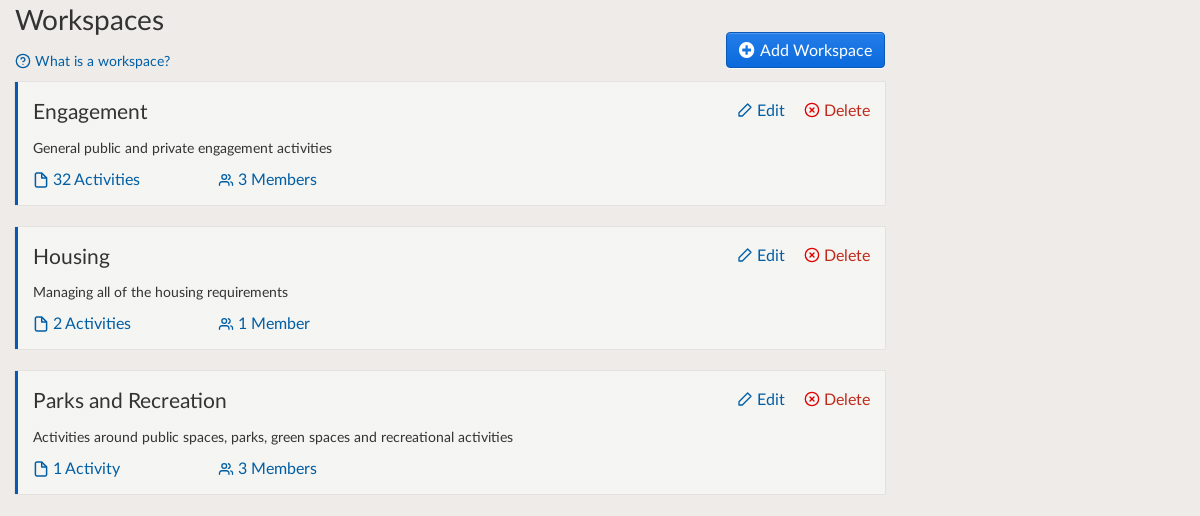
Workspaces - how to add and manage Workspaces
Activities must belong to a Workspace in your Citizen Space site. Users are also assigned to Workspaces. Workspaces must, therefore, be set up in the site before you can create activities. Workspaces can only be created and edited by Site Admins.
Add Workspaces
Step 1
Select the 'Site' dropdown from the dark grey admin navigation bar across the top of the page and then select 'Settings'. This will take you to the Site settings section, where you'll find the link 'Workspaces' which will take you to the page for adding and managing Workspaces in your site.

Step 2
On the 'Workspaces' page, select the 'Add Workspace' button on the top right-hand side. Enter the Workspace name and a description.

Please note that whatever you enter first as the Workspace title will set the URL ending for that Workspace, so you may want to enter something abbreviated initially (such as an acronym) to keep your URLs as short as possible - you can always then rename the title something longer afterwards once the URL is set.

Repeat steps 1 and 2 until you have added all of your Workspaces.
Manage Workspaces
You can also edit the Workspace title and description here, but this won't change how the Workspace name appears in the URL of any of its activities. This is by design so as not to cause any issues with in-progress responses. So it's important to make sure that you enter Workspace names correctly when you add them.
Important note: Activities belong to Workspaces. Therefore, if an activity owner needs to be removed from a Workspace or leaves the organisation, the activity must be re-assigned to another user within the same Workspace.
If you are looking to review your Workspace structure please contact your Delib customer success manager who will be able to advise on this.
.png)