Internal users - conduct a user audit
Keeping on top of who has access to your site and revoking access when it’s no longer needed is the best action to take from an information security perspective as well as ensuring admin numbers aren’t unnecessarily high.
User management is necessary in order to make sure that only the people who need access to the data have it and to ensure that staff who are no longer with your organisation can't access the internal site.
In this article we'll be touching on the following topics:
- Export your sites’s users
- Perform the audit
- Edit permissions and suspended users
- Communicate and stay informed
Export your site’s list of users
You can do a simple audit of who has access, what their primary role is, when they last logged in, and when they last reset their password by downloading the ‘Users’ export from your site.
Only a Site Admin can export a list of users.
To export a user list, select the 'Site' dropdown from the admin navigation bar across the top of the page and then select 'Settings'.

This will take you to the Site settings section, where you'll see that the page for managing users is the first page you come to.

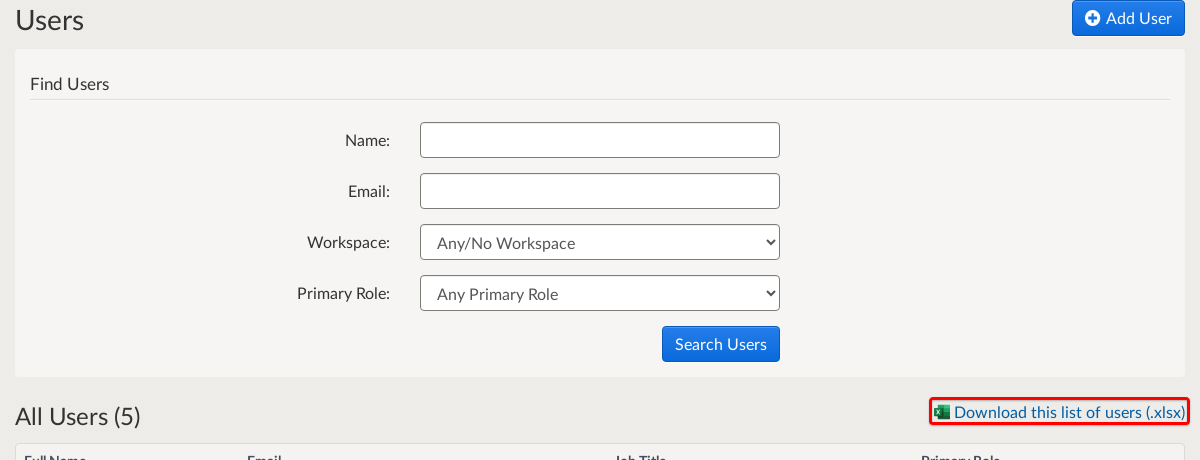
In the top right-hand corner of the Users page, select 'Download This List of Users' and the file will automatically be downloaded.

The export is in an .xlsx format that includes:
- Full name
- Contact info
- Email address
- Job Title
- Primary Role
- Number of Workspaces the user is assigned to
- List of Workspaces they are assigned to
- Date of last login
- Status (whether the user is active or suspended)
- Date of last password change
- Account type (New, Local or External) (this column is visible only if SSO is enabled on your site)
- Two-Factor Auth Status (this column is only visible if 2FA is enabled for your site - it says whether a user has 2FA enabled on their account or not)
Perform the audit
The Primary Role, Last Login, Status and Last Password Change columns are the ones that give you the best information for performing the audit. You can check permission levels, identify individuals who have never logged in or users who haven’t logged in for 1+ years, and when their last password change may have been (this information is particularly informative for site admin who follow our recommended guidance on setting passwords). We also have a support article on user types and what they can do to help you review the different permissions these users have.
Okay, you've done the audit now and you’ve got the list of users identified as no longer needing access — what next?
Edit permissions and suspend users
You can then change the user type, change or remove Workspace roles for users to change their permission levels, or revoke access to accounts entirely.
To completely revoke an internal user’s access to Citizen Space, you can either suspend or delete their account. By suspending users — meaning they will no longer be able to log into Citizen Space — you can quickly disable their account, preventing access without affecting their activity ownership or needing to make changes across individual activities.
However, there may be cases when you have to delete a user. If you need to delete a user from Citizen Space, you will first need to re-assign their activities to another user within the same Workspace.
You can learn more about how to change permission levels and suspend accounts in our other support article how to add and manage users.
Communicate and stay informed
And don’t forget — communication is important!
Let departments or teams know that you will be conducting an audit, you can even get them involved by encouraging them to review a filtered by Workspace exported user list. Encourage them to also keep site admin up-to-date when staff leave or move to other departments/teams. You should also alert the users themselves by sending them an email letting them know that you will be suspending their account and that to reactivate it they can contact you or other site admin.
.png)