Citizen Space activity set-up - detailed instructions
Below are detailed, step-by-step instructions for setting up a new activity in Citizen Space. You can also refer to our Quick Start Guide.
For basic instructions on setting up a new activity, refer to this article instead.
The steps in this article are as follows:
- Log in
- Add a new activity
- Overview of activity header, navigation and dashboard
- Design and build:
- Preview your survey
- Publish your survey
Be sure to check out our how-to videos to help you along the way!
Log in
First, log in to your Citizen Space site.
Add a new activity
Select the Add Activity link on the Manage Activities page to get started.

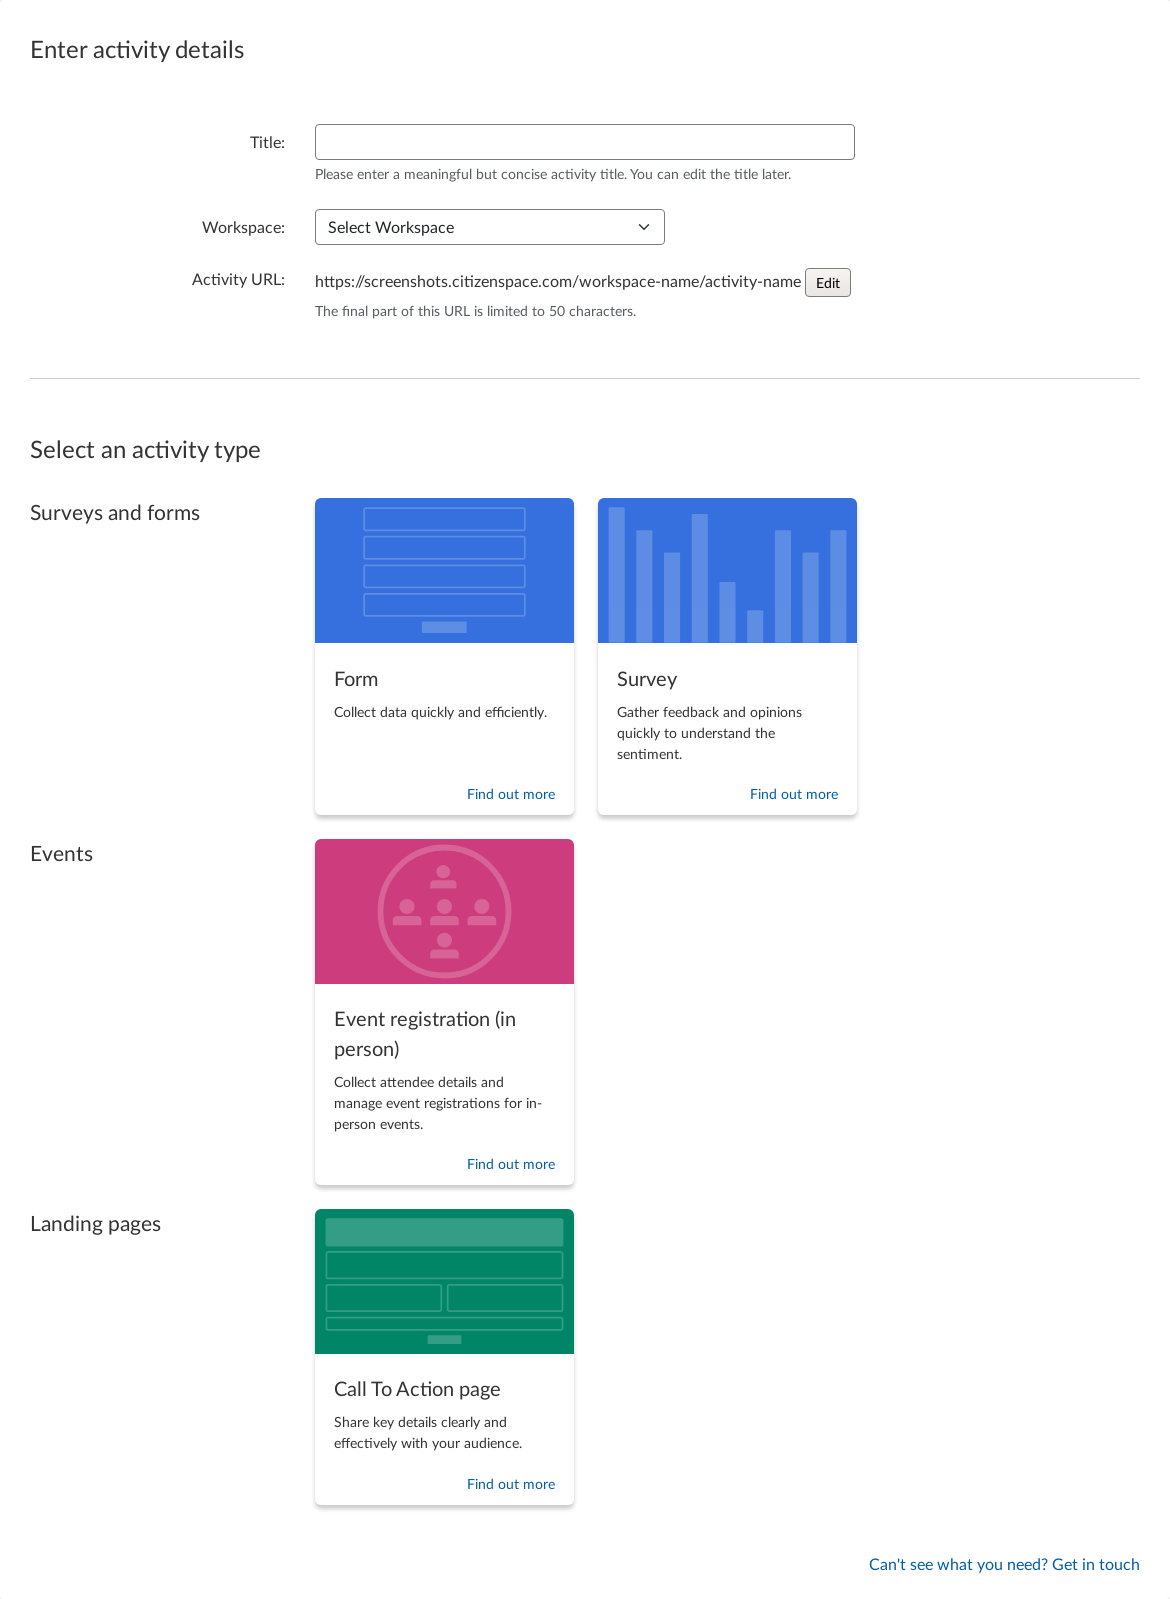
- Enter the title of your activity. This will be displayed on all of your activity's pages, and is searchable via internet browsers (unless it's a private activity rather than public). You can edit this title later.
- If you are a Site Admin or belong to more than one Workspace (learn more about different types of Citizen Space users) then you will need to select the Workspace you'd like the activity to be in from a drop-down menu. If you only belong to one Workspace, then the activity will automatically be created in your assigned Workspace.
- The final part of the activity's URL is automatically generated based on its title, with a limit of 50 characters. However, you can make changes to it by selecting the Edit button. For more information on this, please refer to our article on creating and editing URLs.
- Now select the type of activity you want to create. Once you have selected this it can't be changed, so choose carefully.
- Select the Add Activity button. This takes you to the next screen, which is the main dashboard for your new activity.
Overview of activity header, navigation and dashboard

Activity header
You will now be at the Activity Dashboard screen. This is where you can access everything you need to build, edit, theme, monitor and analyse this particular activity. The contents and layout of your activity dashboard will vary depending on the activity type you have selected when adding your activity, but there are some features and functions common to all types.
The activity header of the dashboard contains the Workspace name, the activity type and the visibility (either public or private) of your activity, and the title of that activity itself. There are also two button controls: Preview and Draft/Publish.
The Preview split control button is in two parts:
- the first opens the activity in Preview mode, allowing you to check and review your work prior to publication.
- The second part is a dropdown menu which provides another way to access preview mode and means to create and share a preview link.
At this stage, the Publish button will be in Draft status, coloured orange and will display a little warning triangle alongside the word Draft. The warning triangle indicates that certain essential parts of the activity build are not yet complete, and selecting this button opens a dialogue box explaining that you cannot yet publish or retract your activity for this reason and listing those incomplete tasks.
Activity navigation bar and dashboard
In the Activity navigation bar you can access:
- A Dashboard button which will always take you back to the main activity dashboard screen.
- The Design and build menu item includes sections allowing you to build, theme and configure your activity.
- For activities that will receive responses (Forms, Surveys, and Event Registration activities, but not Call to Action pages) you can also access the Responses menu item to open the dropdown menu allowing you to view, analyse, export and manually add your responses. This section is also where you will find response publishing settings and workflows.
- The Feedback and results menu item includes the Publish results and We asked, You said, We did tools to help close the loop.
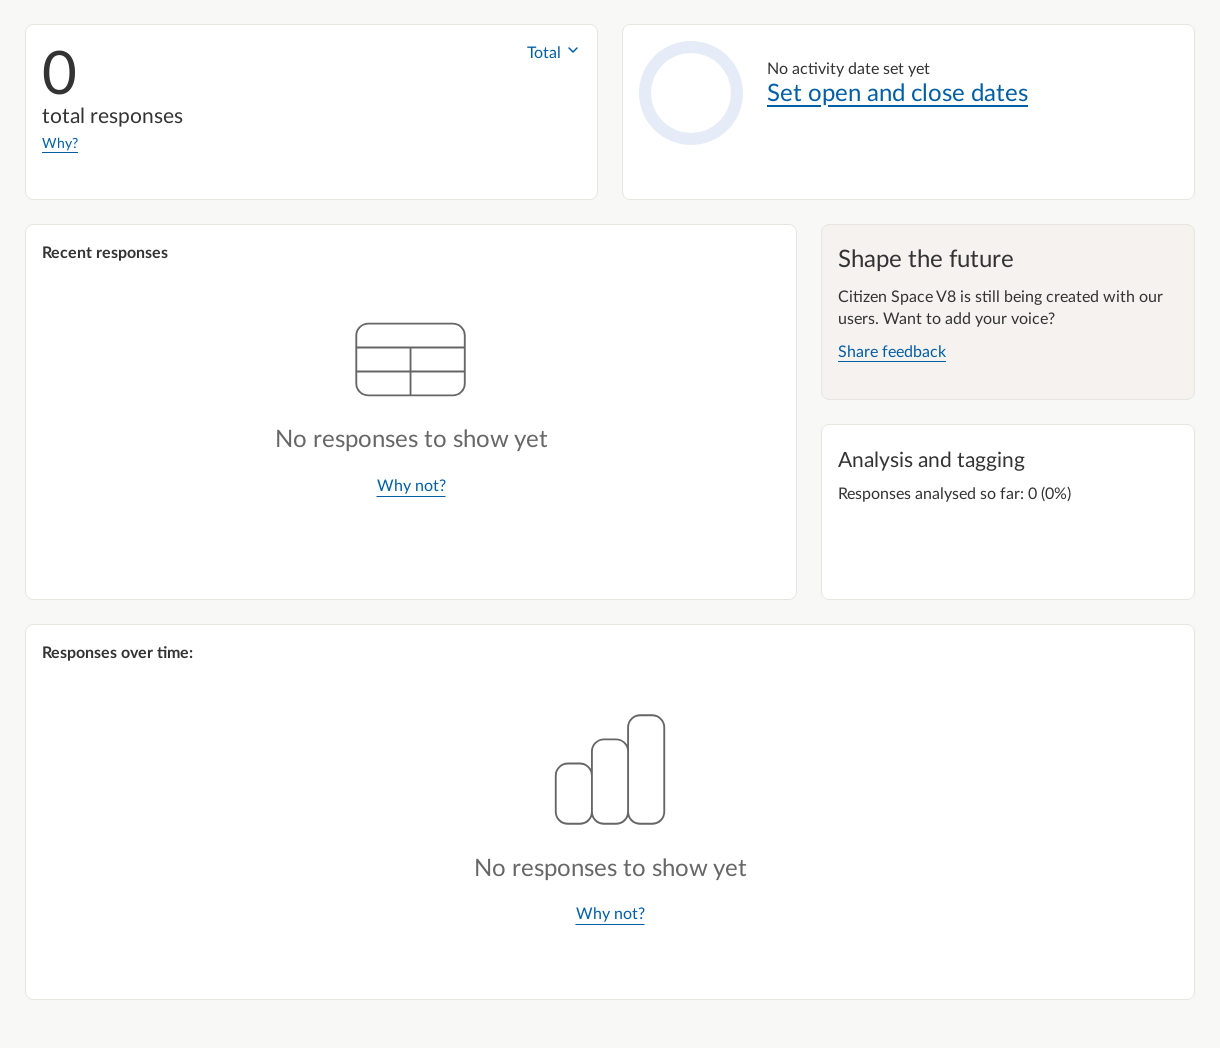
Activity Dashboard
In the main section of the Dashboard is made of up different blocks. The blocks available will again depend on the type of activity you are working on. These blocks give you an at-a-glance snapshot of what's happening with your activity after you've published and gone live. This can include total response counts, tables and chart displaying response data, a block highlighting closing date, a page preview block, and more.
Let's revisit the Publish / Draft button
The Publish button is likely still in the yellow warning mode as the activity is missing required information in order to publish. If you select the button, it will be expand with links to each of the pages with items you need to complete in order to publish. All of these pages are also accessible via the Design and build dropdown menu.

For most activity types these required tasks include:
- Add overview text: This takes you to the Build activity page from where you can write your activity's overview text and set up an questions. (There is a more detailed description of this below.)
- Categorise this activity: This takes you to the Categories and tags section of the Activity settings, where you can assign relevant Areas, Audience and Interests to your activity. (Note: This only applies to sites that have Areas, Audiences and/or Interests enabled.)
- Add dates: This takes you to the Dates section of the Activity settings, where you can set the Start and End date of your activity and also add optional expected dates of results and feedback. (Note: This step is not required on sites that have made start and end dates optional.)
- Add contact information: This takes you to the Contact information section of the Activity settings, where you will need to provide at minimum a telephone number or an email address for an individual or team who are responsible for the activity and who can be contacted by respondents who have questions about it.
As soon as you have completed all these required tasks, the Draft button in the Activity header will turn from warning yellow to aqua blue and the triangular warning sign will have changed into a circular info symbol. Selecting this will now advise you that your activity is Unpublished and also give you access to the green Publish button.
But your activity probably still needs some content, so let's take a closer look at the Design and build menu section.
Design and build
Build activity
The first option in the Design and build menu takes you to the Build activity screen.
Depending on the type of activity you selected, there will be different sidebar options available to you. These detailed instructions focus on building a Form, Survey or Event registration (although notes are included if you're running a Call to Action type).
On the the screen there is also a sidebar menu of options:
- Add a new question page
- Add a new mapping page (for customers with Geospatial turned on)
- Add a saved page
- Page and question settings
- Skip logic settings
-
Followed by the list of the pages in your activity. At this point your activity will likely only two pages: The Overview and Page 1.
Note: Page 1 of Event registration activities is called Contact information, while Call to Action activities include only the Overview and no further pages.)
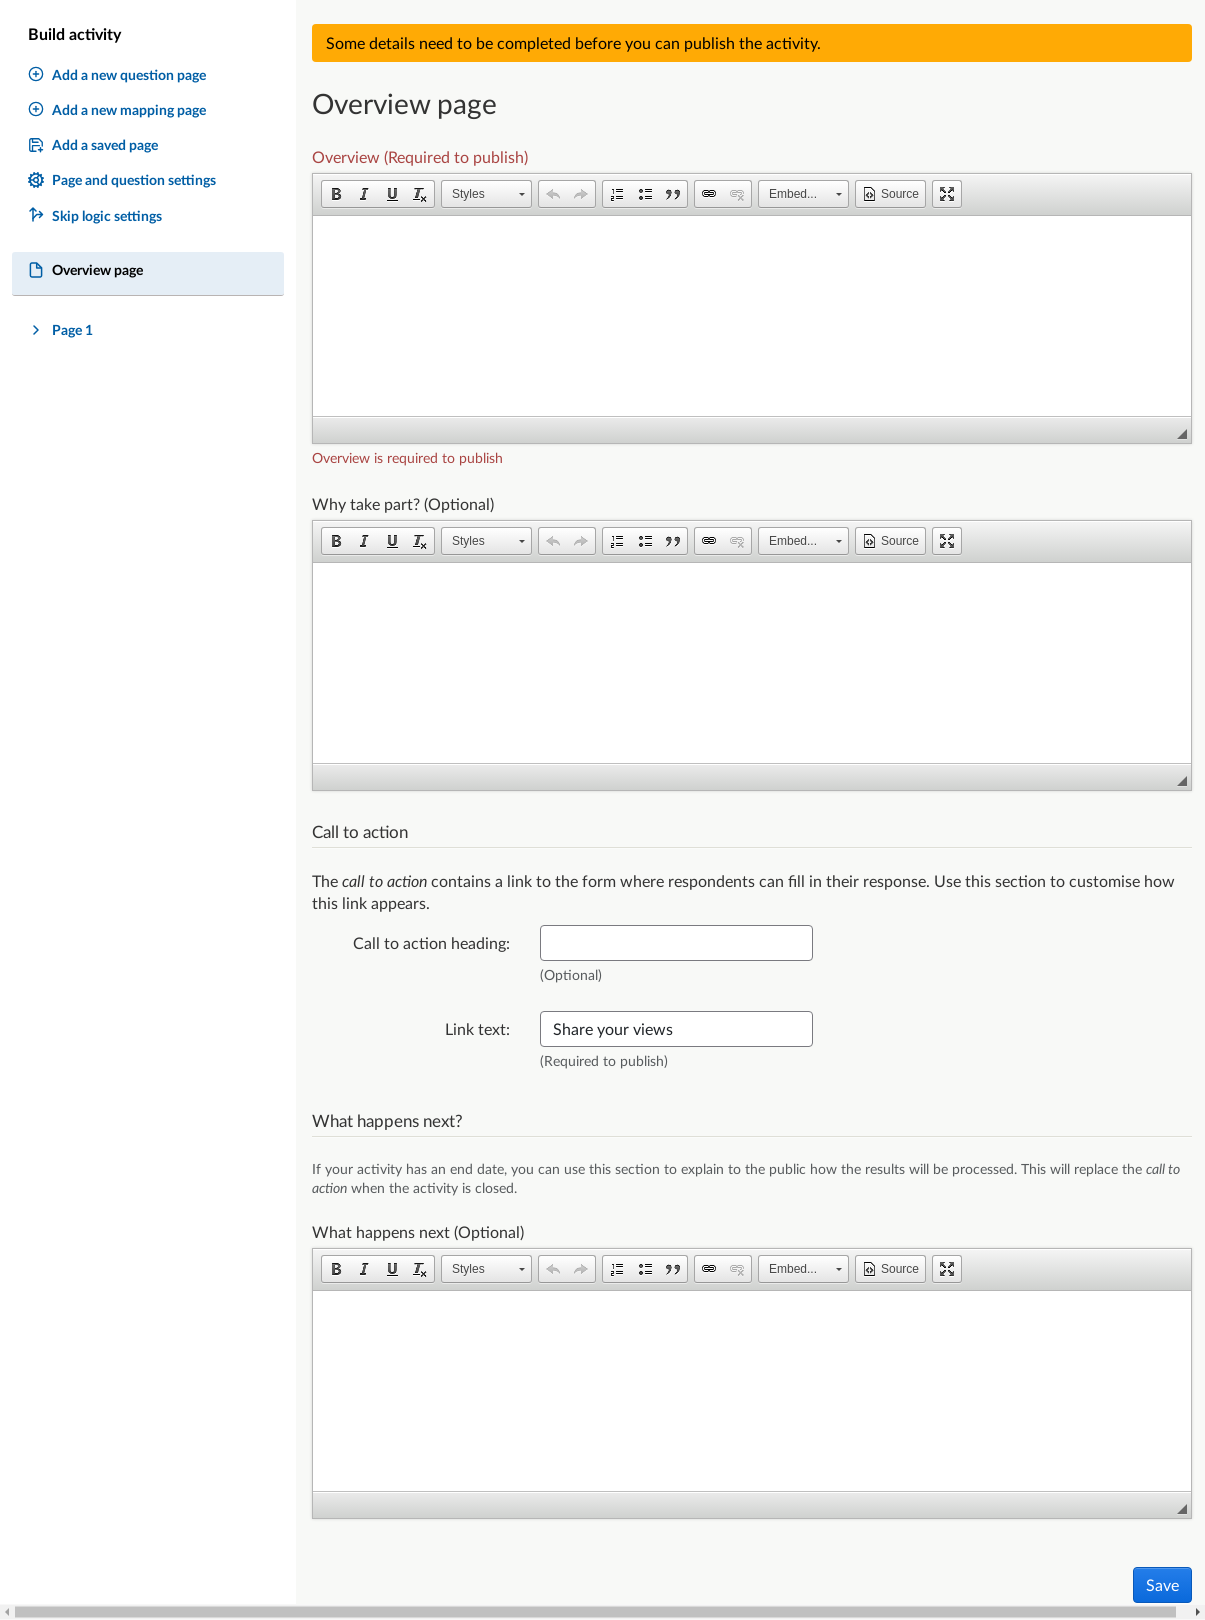
The first thing to do here is set up your activity's Overview. All activities require at least some information to be added to the Overview, and this is your opportunity to explain to your potential respondents exactly what your activity is all about and why you are doing it.
Survey and Form activities also feature an additional, optional box allowing you to explain to respondents why it's important they take part in your activity.
You also have the option to customise the call to action box that appears beneath your Overview description by adding an optional call to action heading and editing the link text. Some link text is required, as without any text there can be no link and without a link there is no way for respondents to access your activity!
Call to action activities are designed not to link to further Citizen Space activities, but to include more detailed information and possibly links to external resources or events. For this reason, the call to action field for these activities is not a line of link text but a text-entry field with a full text editor bar, just like the one used to add the Overview description. However, you can still add links to the call to action box manually.
Once you have added your activity description and made any other changes you wish to the Overview, select the blue Save button. Congratulations – you have completed the first of the essential tasks required to publish your activity!
Staying on the Build activity page, this is where you will build all the content of your Form, Survey and Event registration activities, by adding new or saved pages, add questions to those pages, and add answer components to the questions. It is also where you will access your Page and question settings. These include Question numbering, Progression format (linear or non-linear structure), the non-linear-specific content (the Table of Contents page), the activity completion message, and the email acknowledgement message. It is also where you will access the Skip logic settings.
Again, Call to Action activities are the odd ones out here. The options available to you from the Build activity screen of a call to action activity are identical to those available from the Design and build dropdown menu: Build activity itself; Manage theme; Related content; Events; and Settings.
Complete activity build
The following articles will help you to build your activity:
- Create a Survey (coming soon)
- Create a Form (coming soon)
- Create an Event registration (coming soon)
- Create a Call to Action page (coming soon)
Settings
You now need to finalise your activity's settings. Go to the next menu item in Design and Build > Settings. We'll now go through each sidebar page.
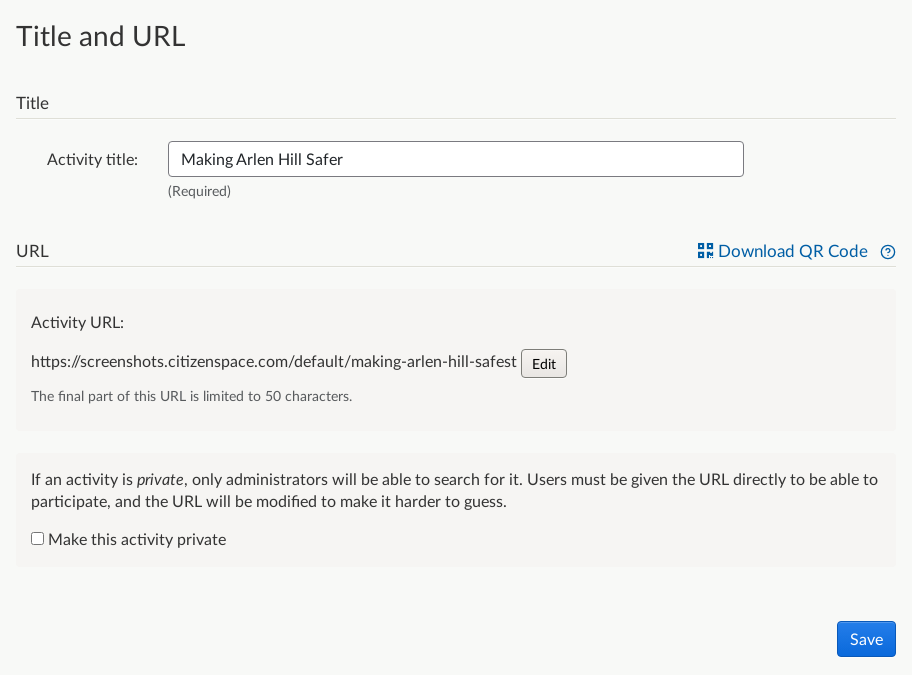
Title and URL
You can edit the title or URL here if you want to, or leave them as they are. Please note that if you change the title at this stage, the last part of the URL will not automatically change. If you want to edit the URL you will need to use the Edit button.
If you want to make your engagement activity private, you can also do that here by selecting the 'Make this activity private' box. A private activity is not searchable by the public, and won't appear on your site homepage. Please note that you can't edit the URL of private activities. Learn more about private activities.
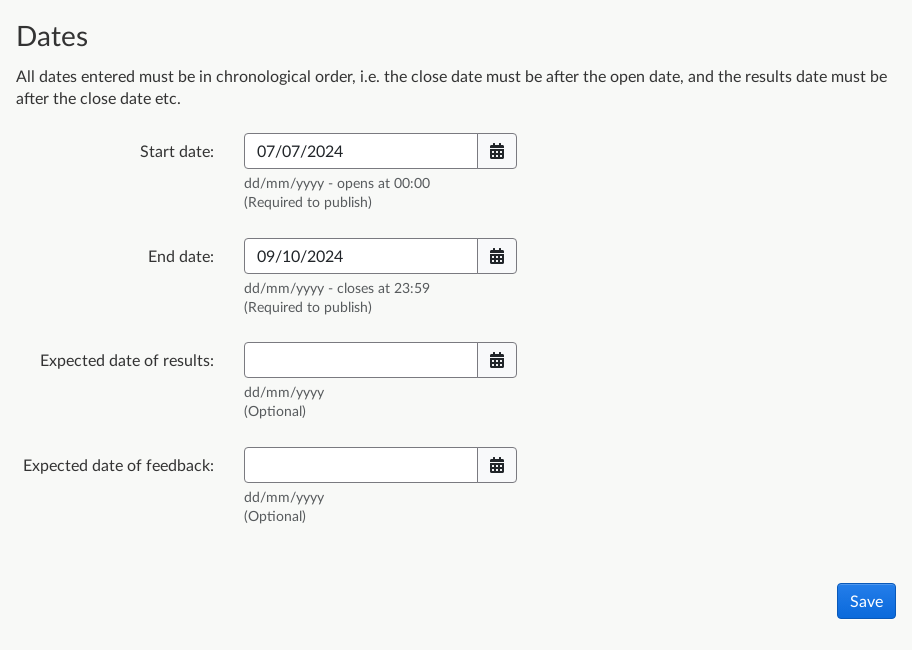
Dates
Set the open and close dates for your survey. These dates determine when the call-to-action box on the Overview page will be available to respondents.
You can set up a survey at any point before the specified start date. Citizen Space will automatically move 'forthcoming' surveys to 'open' status at 00.00am on the start date you've entered. Likewise, a survey will automatically move to 'closed' status at 00.00pm on the end date you've entered.
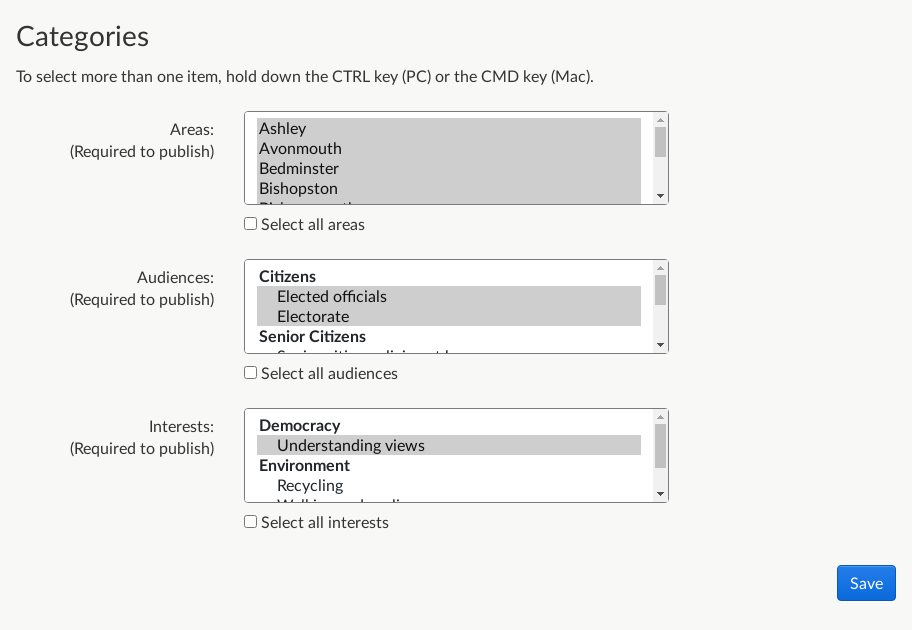
Categories
This section is where you can assign relevant Areas, Audience and Interests to your activity.
Note: This only applies to sites that have Areas, Audiences and/or Interests enabled.
If enabled, you must select at least one Area, Audience, and/or Interest in order to publish your survey. Respondents can search for surveys by Area, Audience or Interest, so these details help people to find activities that are relevant to them.
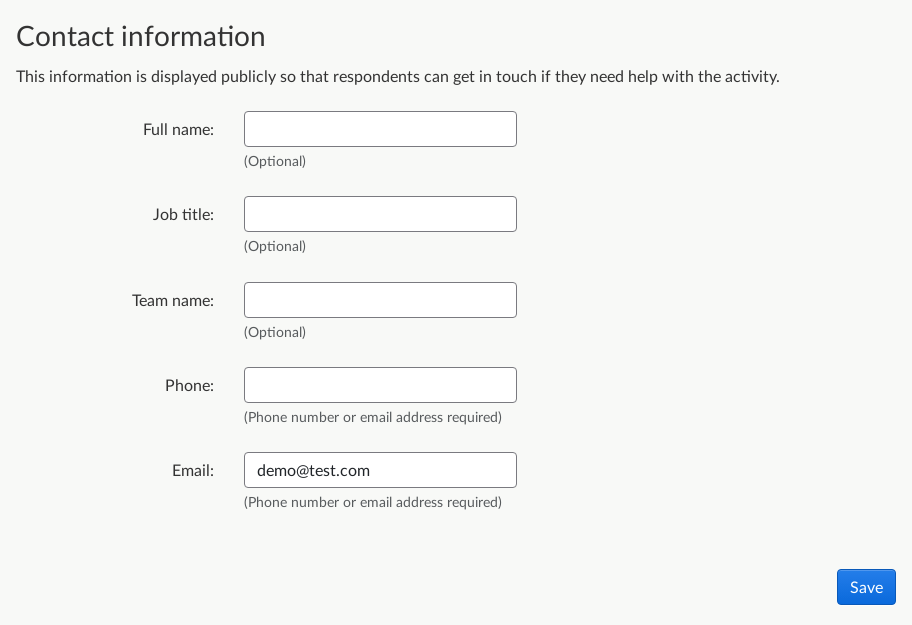
Contact information
For most activity types, you will need to provide at minimum a telephone number or an email address for an individual or team who are responsible for the activity and who can be contacted by respondents who have questions about it.
Response publishing
If available for your activity type, this section is actually a link to the full Response publishing section which can be found in the Responses menu.
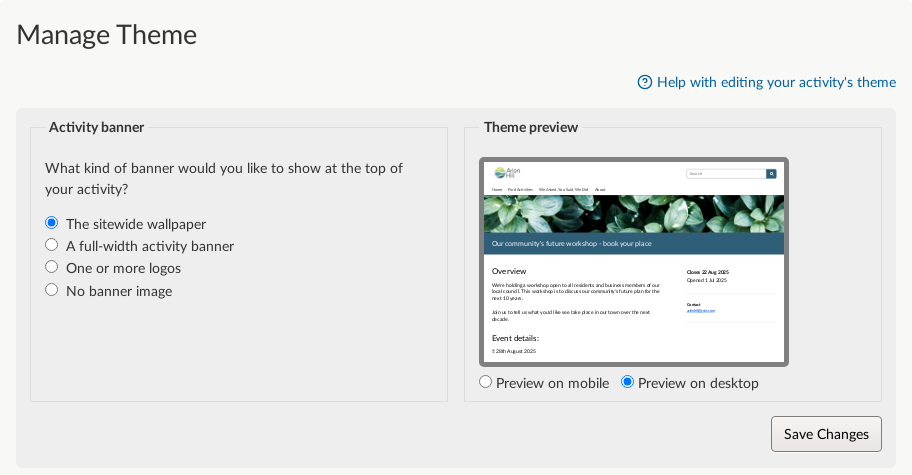
Manage theme
You can change your activity's logos and banner image.
Go to Design and build > Manage theme. We have detailed instructions on managing the theme of your survey.
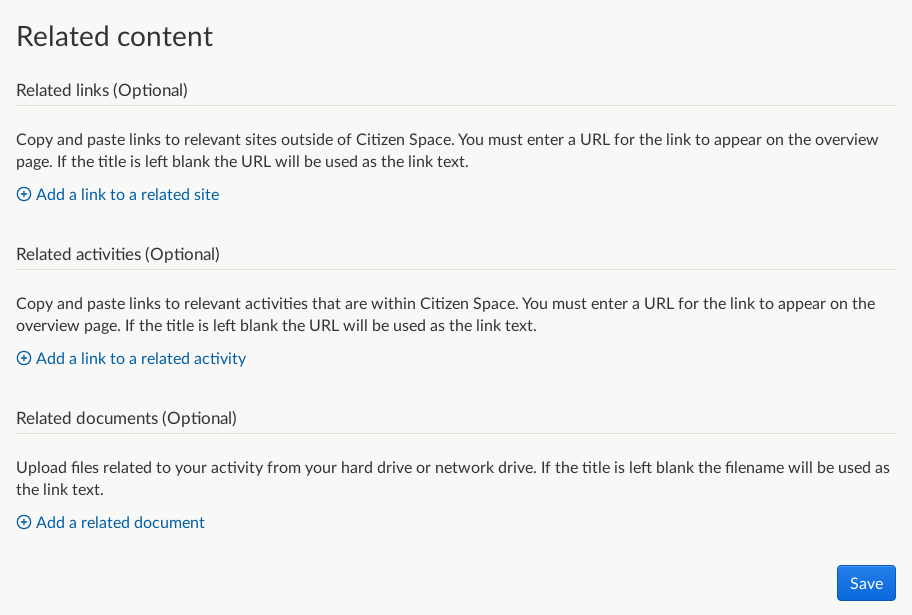
Related content
This section can be used to link to other relevant Citizen Space activities, include links to external sites, and/or upload documents related to your activity. Find out more details about adding related links and documents.
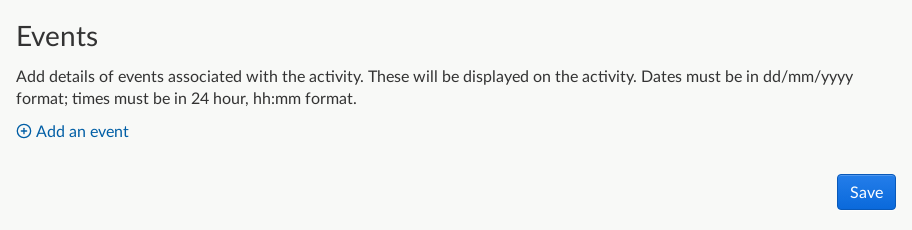
Events
You can add events that are associated with the activity. Learn how to add related events to your activity.
Preview your activity
You've now finished setting up your activity - but the work isn't quite over yet! We strongly suggest you spend a good amount of time previewing it to spot any mistakes or things that could be improved for a respondent. Previewing is a vital part of setting up a good activity.
You can preview it by using the Preview split-control button in the activity header.

Read this article for more on previewing your activity.
You can also share a preview link of your activity with non-Citizen Space users, for them to check it over and test it out.
Publish your activity
If you're happy with your activity, you can now publish it by using the aqua 'Draft' button in the activity header. Once published, the button will turn green and state 'Published'.

Huzzah — you've now launched your Citizen Space activity! 🎉